How to sterilize jars
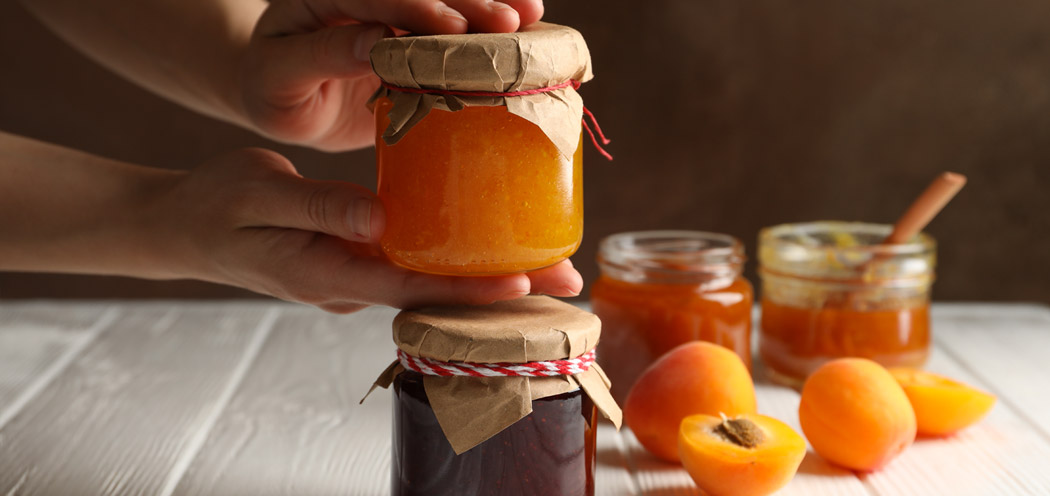
Proper canning will preserve the contents of jars for at least 6 months. When you choose to open it you will hear the characteristic "pop" sounds, signaling that the contents are fresh and that the jar should now be stored in the refrigerator.
But how can you ensure proper canning?
There are 2 commonly used techniques to sterilize glass containers used in canning. Regardless which you select, you should first follow carefully the preparation steps.
- What hands thoroughly�
- Always select glass jars, free of chips and cracks�
- Always select new metal caps, as reused caps tend to show signs of rust or defects in the screw, which will allow air to enter�
- Prepare the glass and metal parts by washing them in warm water and soap and rinse thoroughly�
- Always use clean and pressed kitchen towels
A. Sterilization in boiling water
Practical when sterilizing a small number of containers
�
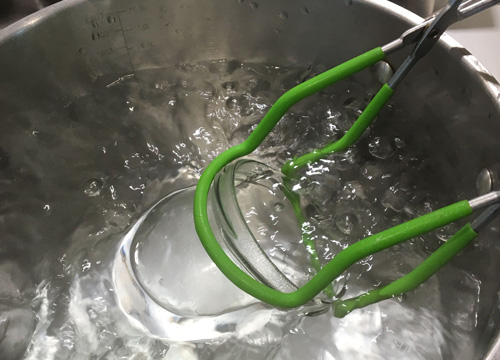
Fully immerse the washed glass and metal parts of the containers in boiling water and leaver for 10 minutes. Make sure the glass jars do not touch each other. Place a clean kitchen towel on the bottom of the pot to protect the jars, or use a special rack. Remove sterilized parts carefully with the help of a pair of tongs and place upside down on a clean towel to dry.
�
B. Sterilization in the oven�
Practical when sterilizing a larger number of containers
�
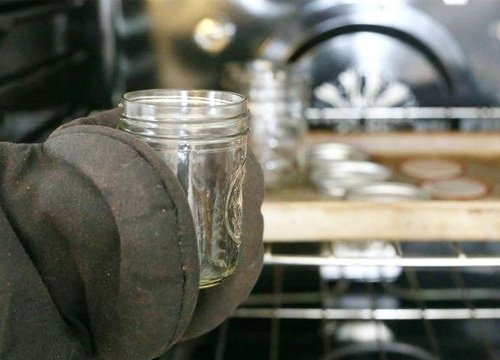
Place the washed glass and metal parts of the containers open sides up on an oven tray, which has been covered with a clean towel. Place the oven tray in an oven pre-heated at 100� for 15 minutes. Remove the tray carefully and place on a flat surface.
�
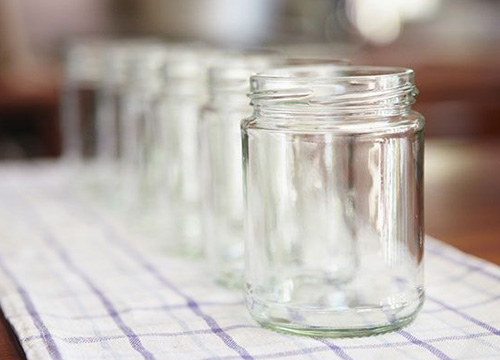
Filling the containers
As soon as the sterilization process is through, fill the hot containers with the also hot contents (jam, tomato sauce ���) to the brim, taking care not to spill the contents. If the brim has been dirtied just wet a piece of paper towel and clean it thoroughly.�
�
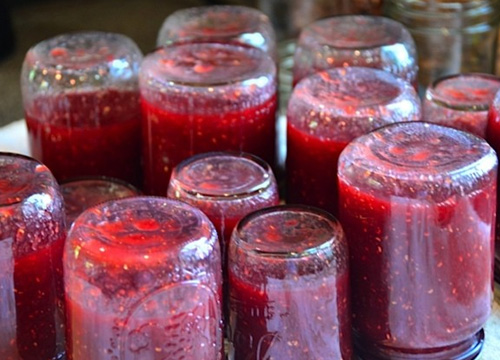
Creating a vaccum
Close the jars immediately and turn upside down on a clean towel, allowing to cool at room temperature.�
After the jars cool down you are ready to decorate them and store them in a dark, dry place, away from odors.�
Good luck!
�
Click here to see our collection of tools and accessories for canning.


